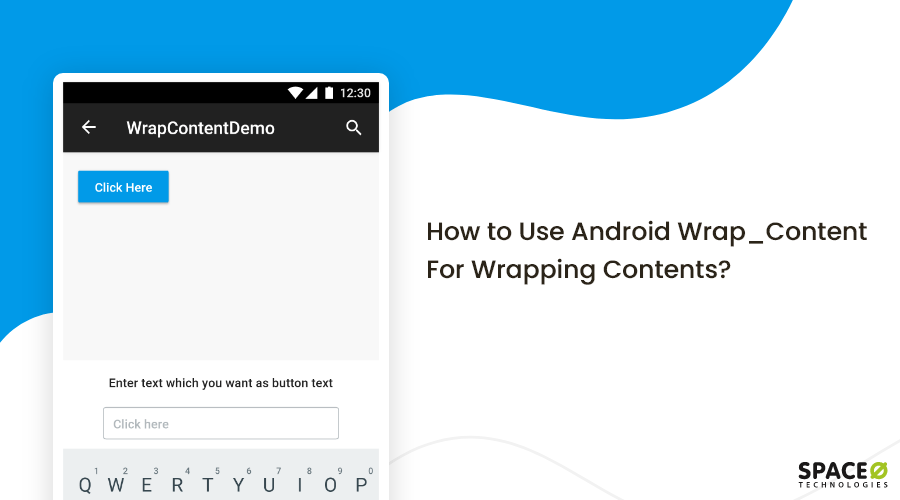
The Android wrap_content, as the name suggests, sets a view’s size to wrap_content which will only expand enough to contain the values. In simple words, the view wrapped with wrap_content will just be big enough to enclose its contents. For instance, if you’re declaring a button name as “Get Started” and setting its height and width as wrap_content, then it’ll create a button with Get Started name size, and won’t occupy more than the content area.
Although, it’s also possible to implement wrap_content on Textview in which, it occupies space based on the length of the string. However, in today’s Android app tutorial, we’ll developing a simple demo explaining how to implement Android wrap_content in a button.
Let’s Get Started
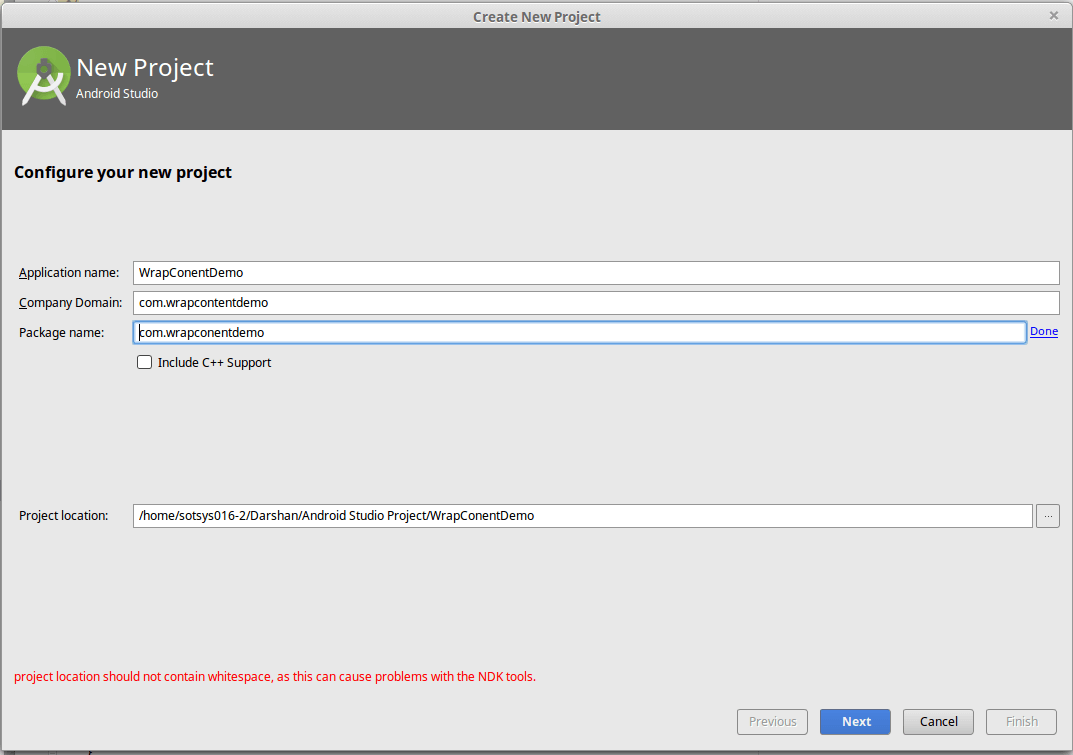
Create a new project under file menu, modify the project details and choose location demo for project.
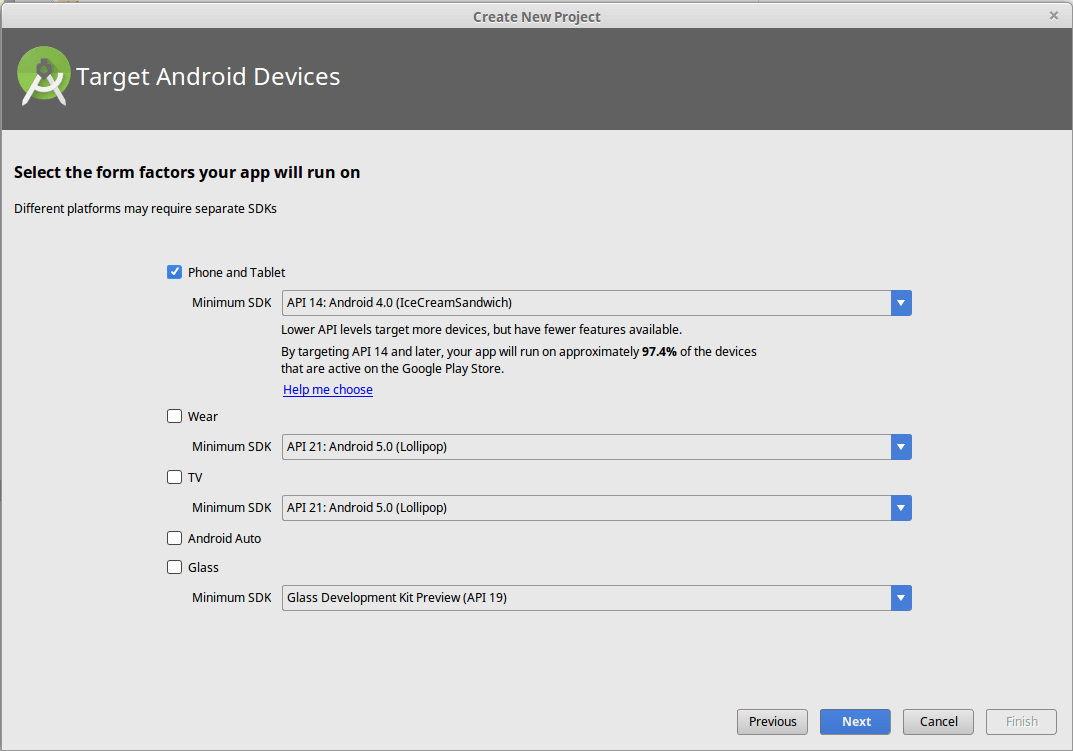
Choose Mini support SDK to use this project.
In the next tab, select add No Activity.
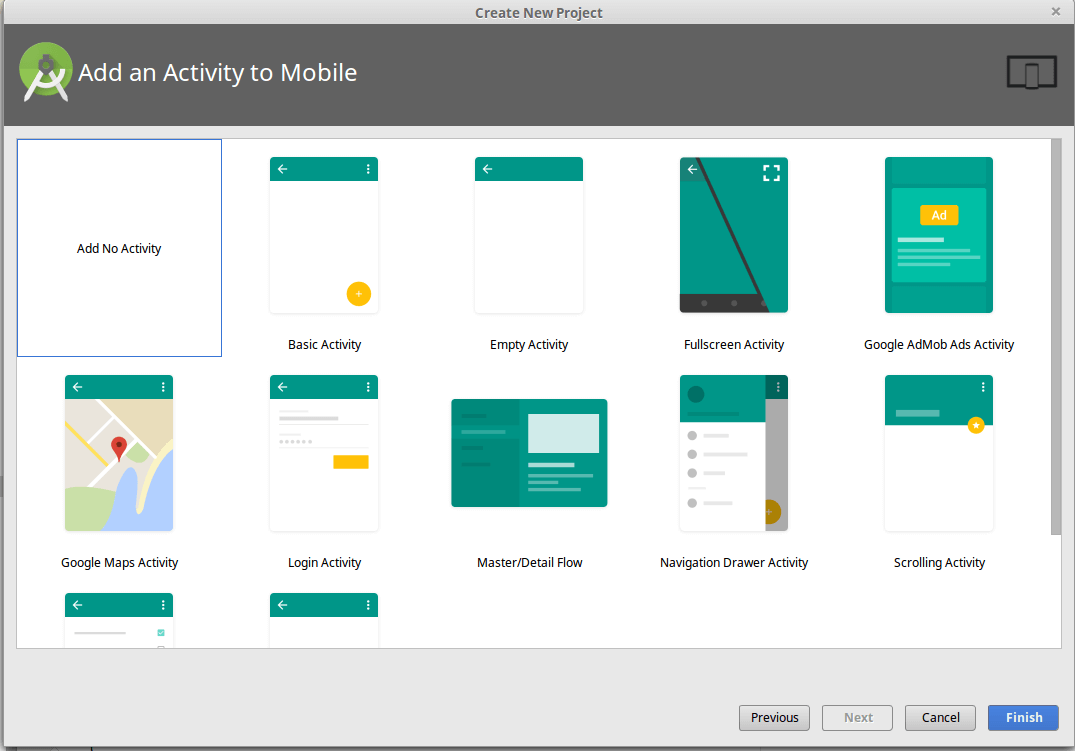
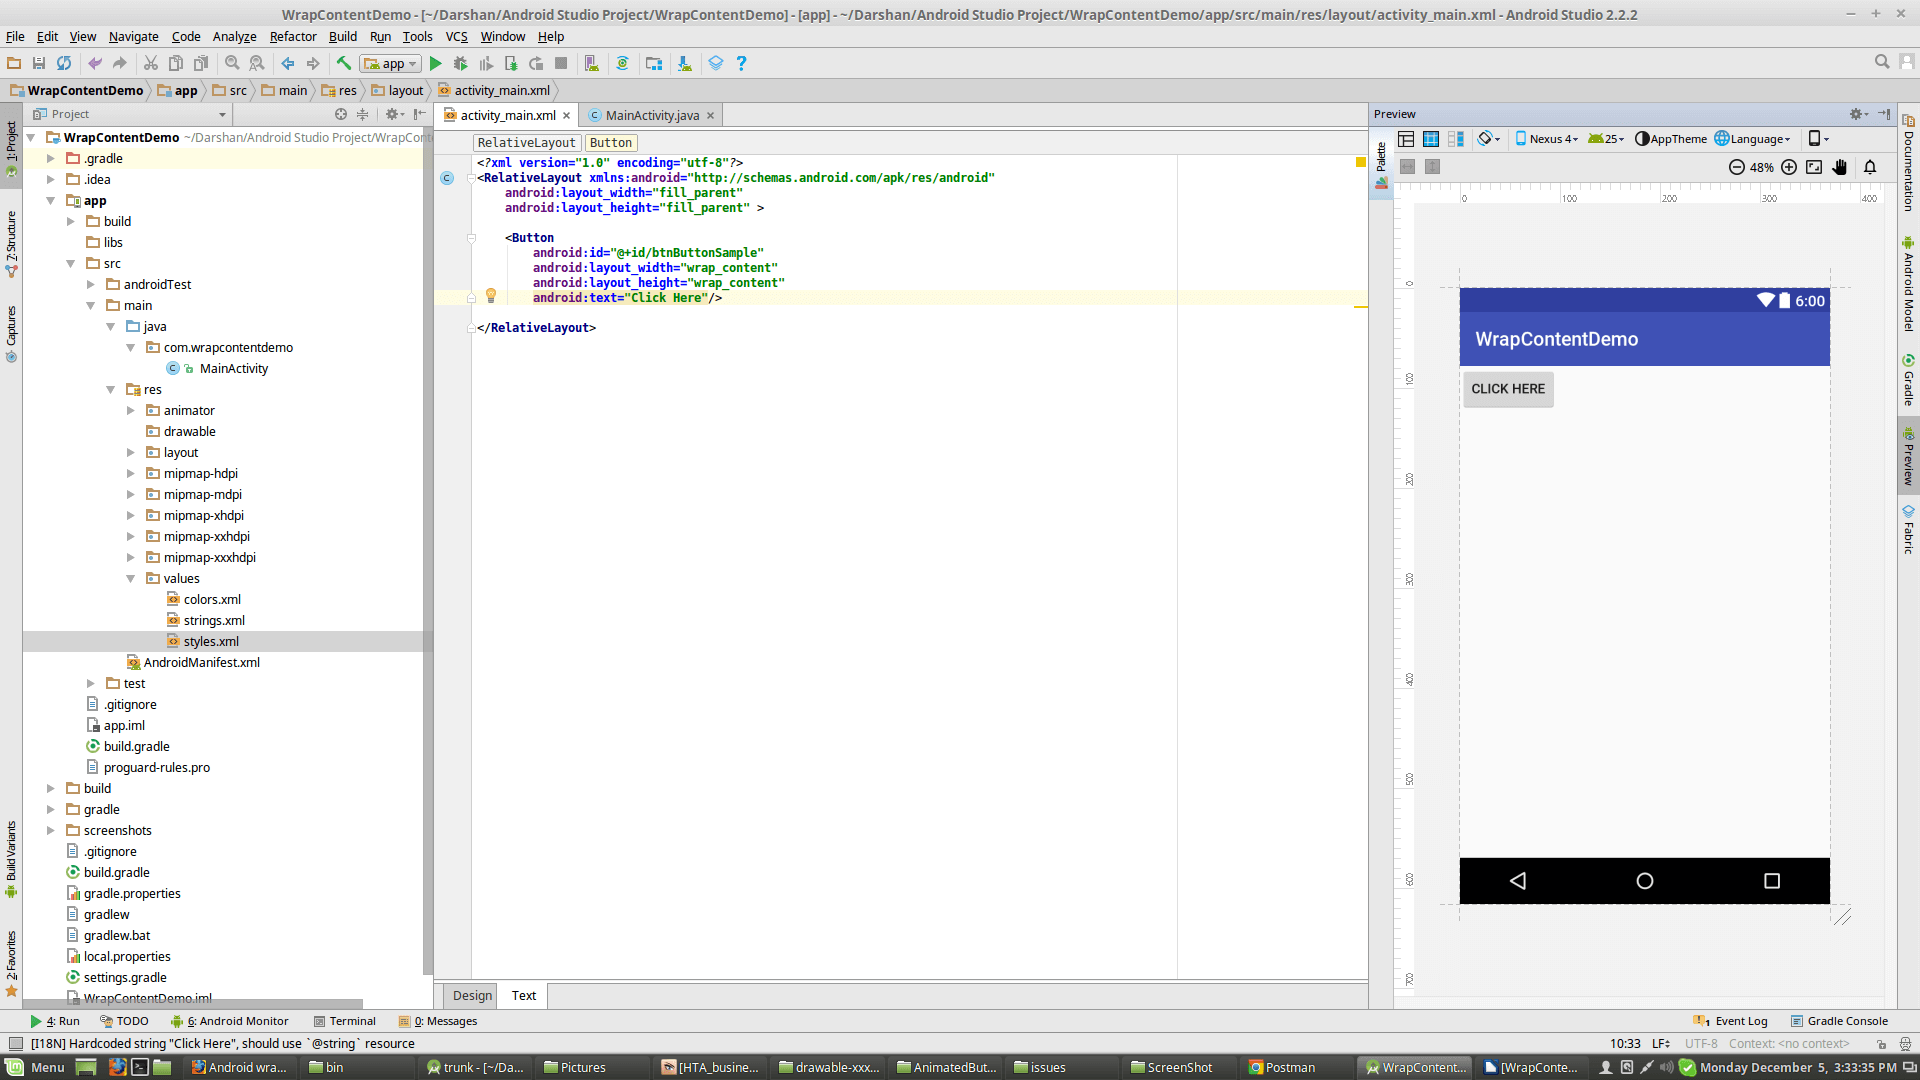
Lastly, create XML and use custom view button in it.
Want To Create An Android Application?
Looking to Create An Android app? Get in touch with our experienced Android app developers for a free consultation.

Now, Create class for MainActivity.
public class MainActivity extends AppCompatActivity{
    private Button buttonSample;

    @Override
    protected void onCreate(@Nullable Bundle savedInstanceState) {
        super.onCreate(savedInstanceState);
        setContentView(R.layout.activity_main);

        buttonSample = (Button) findViewById(R.id.btnButtonSample);
        buttonSample.setOnClickListener(new View.OnClickListener() {
            @Override
            public void onClick(View view) {
                generateConfirmationDialog(buttonSample.getText().toString());
            }
        });
    }

    private void generateConfirmationDialog(String text) {
        final Dialog dialog = new Dialog(this, android.R.style.Theme_Black_NoTitleBar_Fullscreen);

        // Setting the title and layout for the dialog
        dialog.setContentView(R.layout.dialog_confirmation);

        final TextView tvYes = (TextView) dialog.findViewById(R.id.tvYes);
        TextView tvNo = (TextView) dialog.findViewById(R.id.tvNo);
        final EditText edtText = (EditText) dialog.findViewById(R.id.edtText);
        edtText.setText(text);

        dialog.setCancelable(true);
        dialog.getWindow().setLayout(LinearLayout.LayoutParams.MATCH_PARENT,
                LinearLayout.LayoutParams.WRAP_CONTENT);
        dialog.getWindow().setSoftInputMode(WindowManager.LayoutParams.SOFT_INPUT_ADJUST_PAN);
        dialog.getWindow().setSoftInputMode(WindowManager.LayoutParams.SOFT_INPUT_STATE_VISIBLE);
        dialog.getWindow().setGravity(Gravity.CENTER);
        dialog.show();

        tvYes.setOnClickListener(new View.OnClickListener() {
            @Override
            public void onClick(View v) {
                dialog.dismiss();
                buttonSample.setText(edtText.getText().toString());
            }
        });

        tvNo.setOnClickListener(new View.OnClickListener() {
            @Override
            public void onClick(View v) {
                dialog.dismiss();
            }
        });
    }
}
Manage Click Event in Main Class
// Find button by findviewbyid
buttonSample.setOnClickListener(new View.OnClickListener() {
    @Override
    public void onClick(View view) {
        generateConfirmationDialog(buttonSample.getText().toString());
    }
});
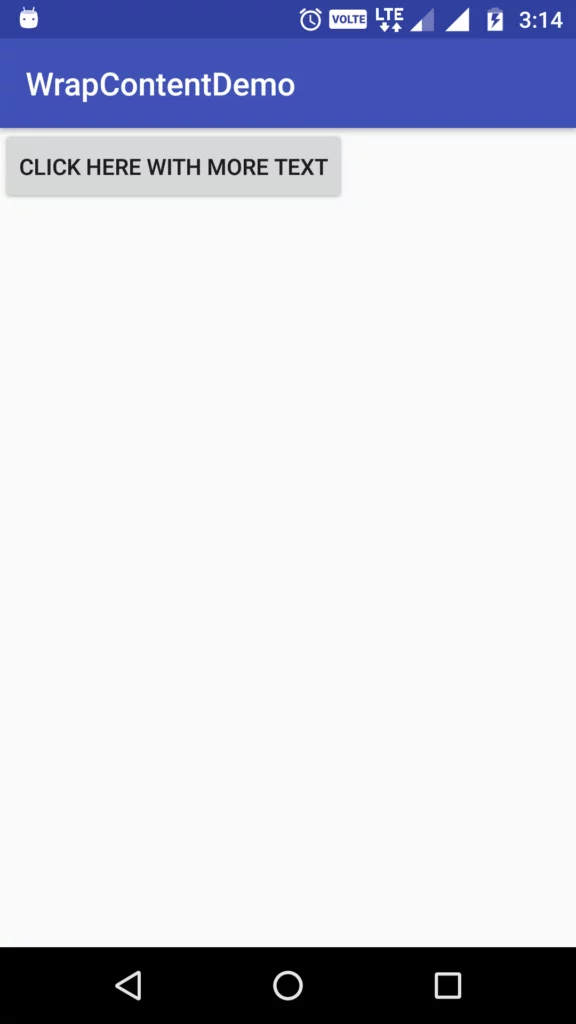
Now when you run the demo, it’ll look like this:

The dialog will open EditText with same context as button. Write some content and click YES and the button’s width will get changed.


And Done!
Want To Create An Android Application?
Validate your app idea and get a free quote.
Small and Simple. This, however, is just a small part of Android application development to help you understand the basics, before you move to the broad concepts. And if you’ve already started with your native Android app development, wrap_content may come in handy to create appealing user interface. But in case of need of technical assistance for building other aspects, you may contact an full-stack Android app design and development company to help you successfully create your Android app.
Grab a free copy of wrapping content demo from Github.
